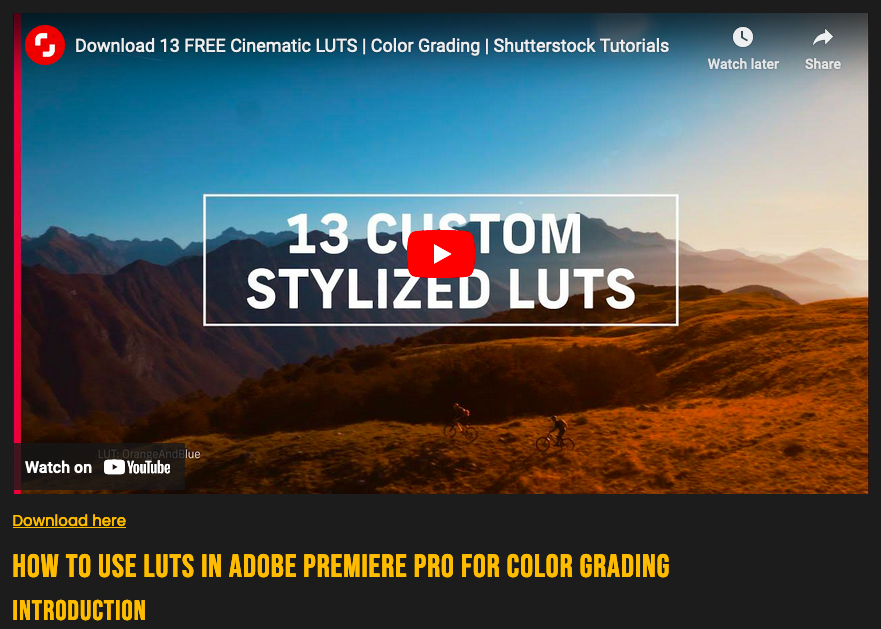
DroneSpot searched the internet collected LUTS available from great free sources.
How to Use LUTs in Adobe Premiere Pro for Color Grading
Introduction
Color grading is a crucial step in the video production process, enhancing the mood, style, and overall look of your footage. One of the most efficient ways to achieve professional color grading results is by using Lookup Tables (LUTs). LUTs are predefined color profiles that can be applied to your video to quickly change its color palette and tone. In this article, we’ll guide you through the steps to use LUTs in Adobe Premiere Pro for color grading.
What are LUTs?
LUTs, or Lookup Tables, are mathematical formulas that map one set of colors to another. They are commonly used in video production and photography to apply a specific color grade or style to footage. LUTs can be used for both technical purposes (such as converting log footage to Rec. 709) and creative purposes (such as giving your footage a specific cinematic look).
Step-by-Step Guide to Using LUTs in Adobe Premiere Pro
Step 1: Import Your Footage
- Open Adobe Premiere Pro.
- Create a new project or open an existing one.
- Import your footage by going to
File > Importor by dragging and dropping your video files into the Project panel.
Step 2: Add Your Footage to the Timeline
- Drag your footage from the Project panel to the Timeline.
- Make sure your sequence settings match the resolution and frame rate of your footage for the best results.
Step 3: Open the Lumetri Color Panel
- Go to
Window > Lumetri Colorto open the Lumetri Color panel. - The Lumetri Color panel is where you’ll apply and adjust your LUTs.
Step 4: Apply a LUT
- In the Lumetri Color panel, go to the
Basic Correctionsection. - Click on the
Input LUTdropdown menu. - Choose a LUT from the list of built-in options, or select
Browseto import a custom LUT from your computer.
Step 5: Adjust the LUT
- After applying a LUT, you may need to make additional adjustments to fine-tune the look.
- Use the sliders in the Lumetri Color panel to adjust parameters such as Exposure, Contrast, Highlights, Shadows, Whites, and Blacks.
Step 6: Fine-Tune Your Color Grade
- Navigate to other sections within the Lumetri Color panel such as
Creative,Curves,Color Wheels & Match, andHSL Secondaryfor more advanced color grading adjustments. - Experiment with these settings to achieve the desired look for your footage.
Step 7: Save Your Preset (Optional)
- If you’re happy with your color grade and want to use it on other projects, you can save your settings as a preset.
- In the Lumetri Color panel, click on the three horizontal lines in the top right corner and select
Save Preset. - Name your preset and click
OK. Your preset will now be available in theEffectspanel underPresets.
Tips for Using LUTs Effectively
- Choose the Right LUT: Not all LUTs are created equal. Experiment with different LUTs to find the one that best suits your footage and the mood you’re trying to convey.
- Use Adjustment Layers: Apply LUTs to adjustment layers instead of directly to your footage. This allows you to easily toggle the LUT on and off and make adjustments without affecting the original footage.
- Combine LUTs with Manual Adjustments: LUTs are a great starting point, but they may not be perfect for every shot. Use the Lumetri Color panel to make manual adjustments and fine-tune your color grade.
- Understand Color Theory: A basic understanding of color theory can help you make more informed decisions when color grading and choosing LUTs.
Conclusion
Using LUTs in Adobe Premiere Pro can significantly speed up your color grading process and help you achieve professional-looking results. By following this step-by-step guide, you’ll be able to apply and adjust LUTs to enhance the visual appeal of your footage. Remember to experiment with different LUTs and manual adjustments to find the perfect look for your project. Happy editing from DroneSpot!
Related Posts
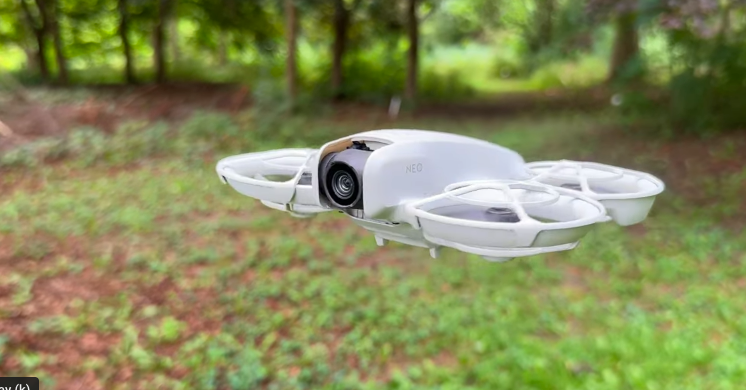
DJI Neo: The Future of Personal Transportation and Robotics
In an age where technological advancements are driving innovation across…
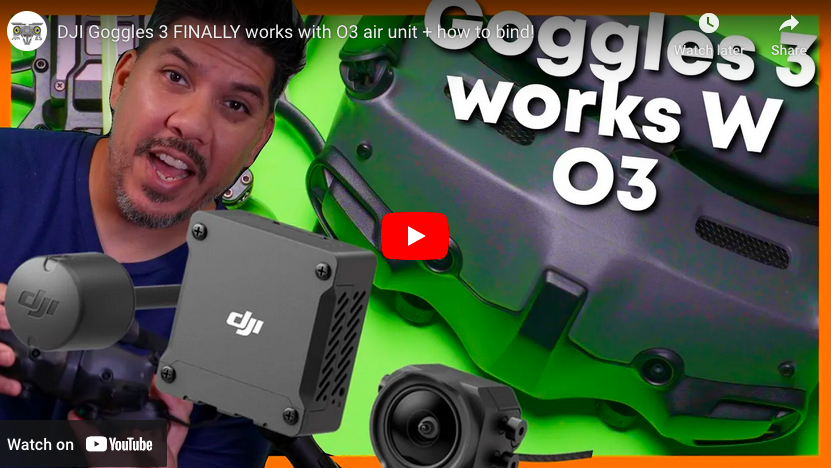
DJI Goggles 3 Now Compatible with O3 Air Unit: A New Era of Immersive FPV
DJI, a leading name in drone technology, has recently announced…
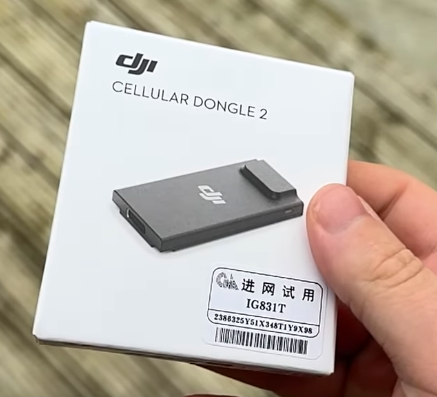
DJI Cellular 2: Redefining Unlimited Range for Drone Pilots
In the fast-evolving world of drone technology, DJI has consistently…